You can upload or create your own presentation slides in Google docs. These presentations can be edited online. You can add images, charts, images, videos, etc to it. All the changes that you will make will be saved automatically. You can share and publish your presentations online as well.
Follow this step by step Google Docs tutorial to learn how to work on PowerPoint files online in Google docs.
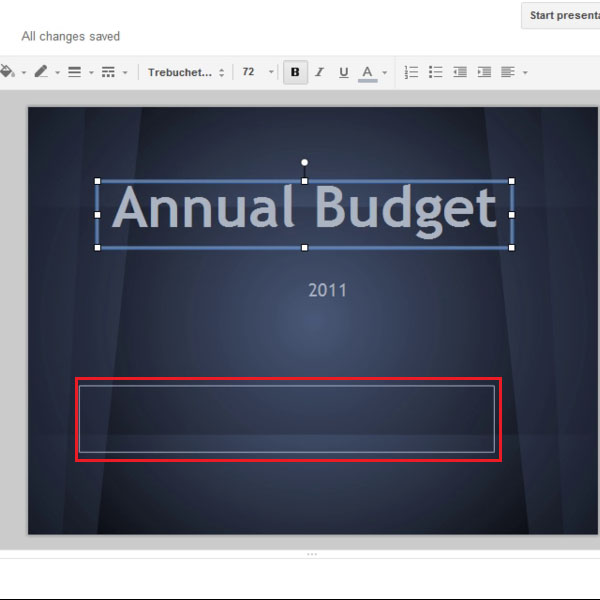
Step # 1 – Edit the text
First of all, open the presentation in which you want to edit the text. Make changes online to your presentation in Google Docs. When you click on the text, the text box be highlighted. You can click on the text box and position it whereever you want to.
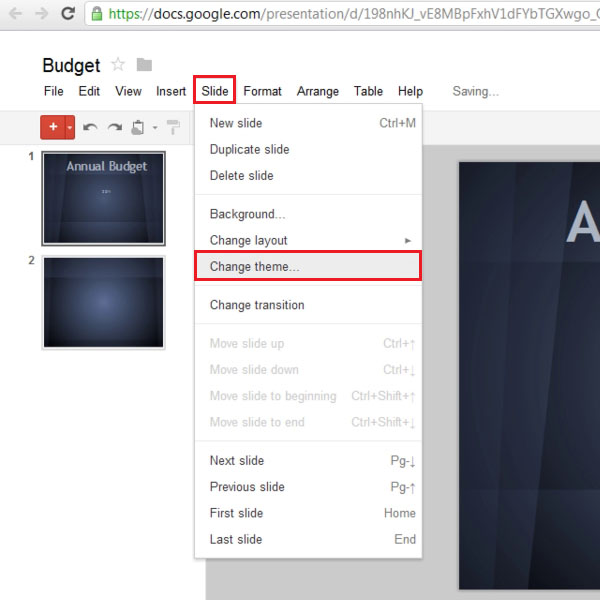
Step # 2 – Change theme
If you want to change the theme of the presentation, then click on the “Slide” tab and a drop down menu will appear. Click on the “Change theme” option from the drop down menu and a box will open from where you can choose themes.
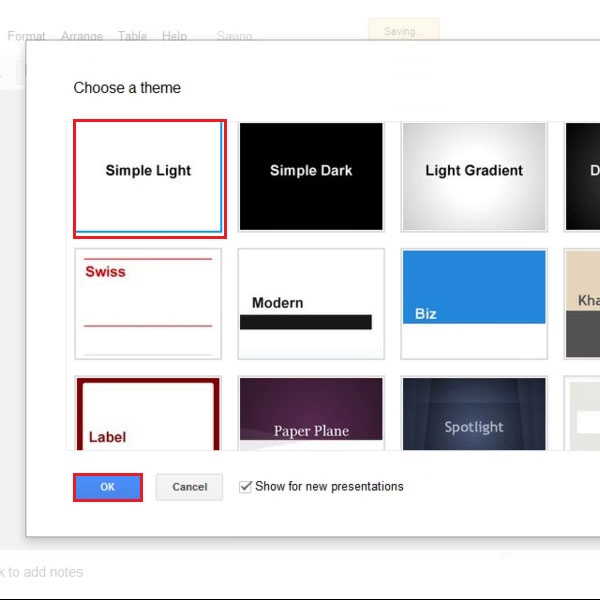
Step # 3 – Choose the theme
When the box opens up, it will consist of different themes you can choose from. Select the theme that you want to apply to the presentation and then click on the “ok” button.
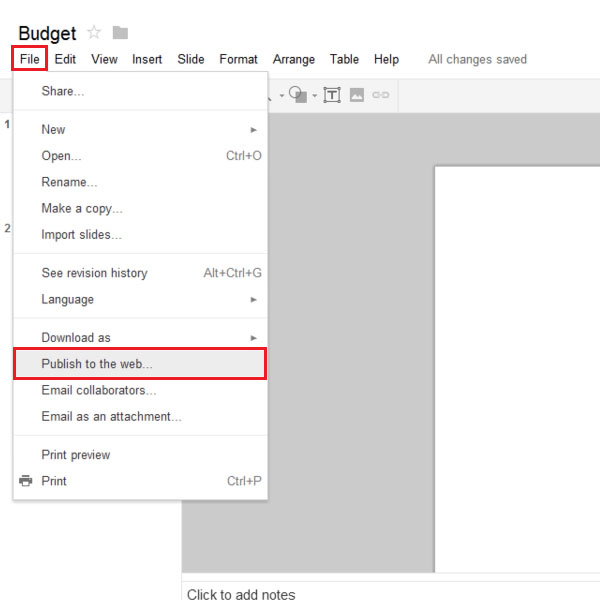
Step # 4 – Publish to the web
You can publish your document to the web as well. A link will be given and using that link anyone will be able to view the document online. In order to do so, click on the “file” tab and select the “Publish to the web” option from the drop down menu.
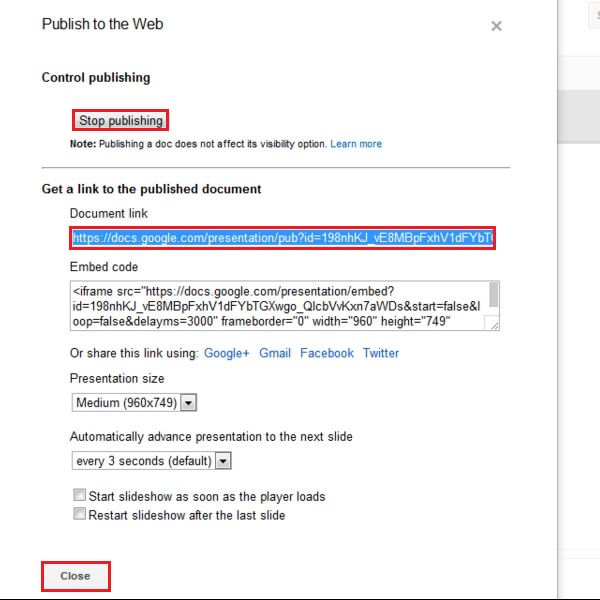
Step # 5 – View the publishing settings
Once you have clicked on the “publish to the web” option, a box will appear on your screen. In this box, you can click on the “stop publishing” button to the stop the document from being published. Your link will be displayed and you can copy it and send it to other people. You can also change the presentation’s slide settings. Once you are done, click on the “Close” button.