People don’t find photos interesting which are without a background. A nice texture or a vibrant background can simple add value to a boring picture. A beautifully designed texture makes your photos interesting and eye-catching. In this tutorial, we will show you a very easy and simple way to design a basic pattern from scratch. After designing a pattern, we will also show you how to use it on your images.
Follow this step by step guide to learn how to create repeating texture patterns in Photoshop.
Step # 1 – Opening up a New Document
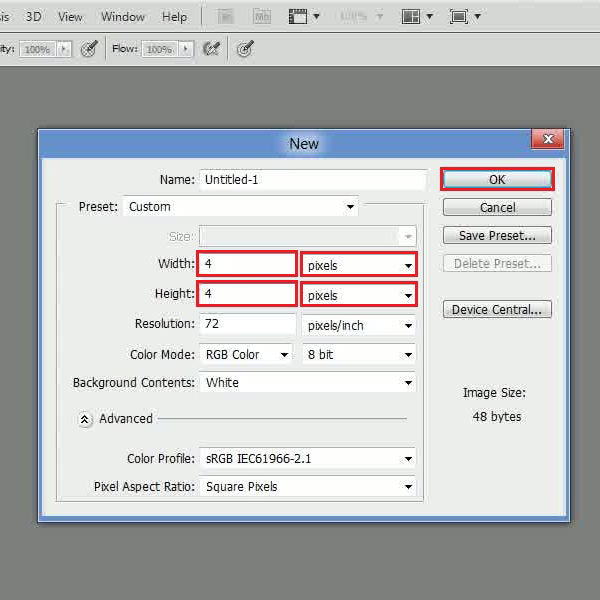
In the first step, launch Adobe Photoshop, go to the “File” menu and click on the “New” option form the list. Now choose the width of the new document as “4 pixels” and its height as “4 pixels” as well. After selecting its dimensions, click on the “OK” button to open a new document.

Step # 2 – Drawing a Pattern
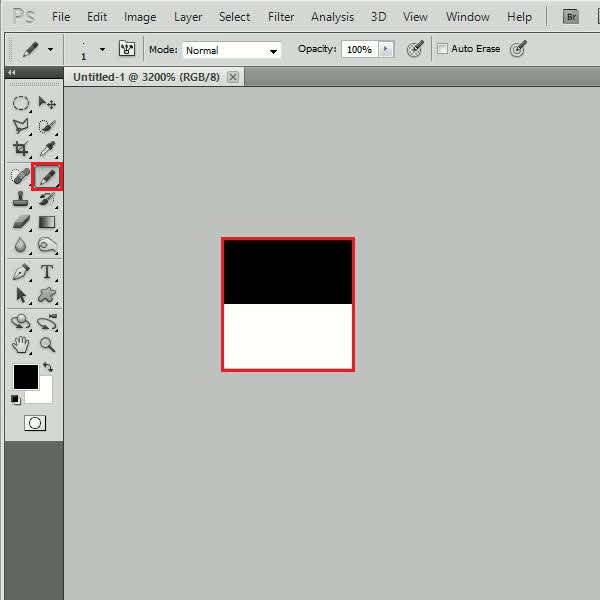
Once the new document has opened, press “Ctrl + Plus” key on the keyboard to zoom in to the page. Now select the “Pencil” tool from the menu located at the left corner of the page and set its size to “1px”. After selecting it, fill up the upper half of the page.

Step # 3 – Defining a Pattern
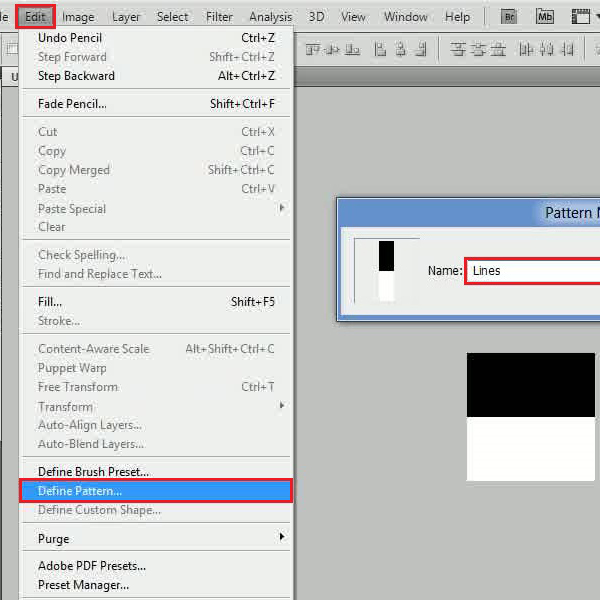
After filling it up, go to the “Edit” menu located at the top left corner of the window. Select the “Define Pattern” option from the list to save this pattern. A small window will appear in front of your screen which allows you to choose a name for your pattern. Now enter the name of the pattern as “Lines” and click on the “OK” button to save it in the Photoshop pattern’s directory. After saving the pattern, close this document and open up a new document.

Step # 4 – Using the Pattern
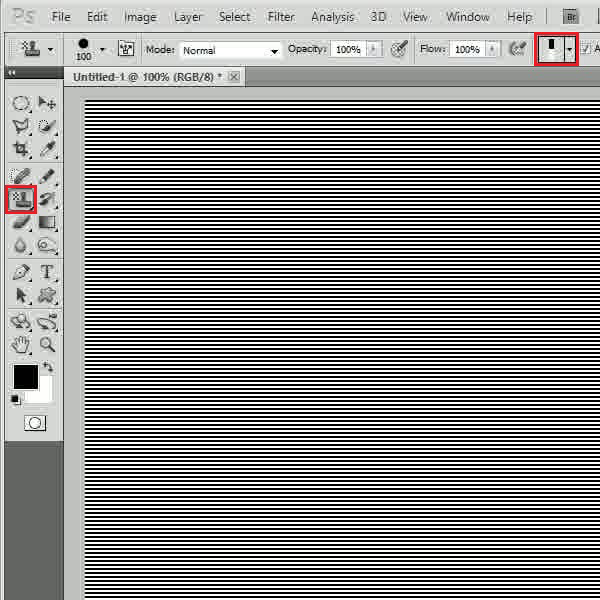
Once you are on the new page, select the “Pattern Stamp” tool from the tool bar which is located at the left corner of the window. Now click on the “Pattern Picker” option located at the top menu. Select the newly created “Lines” pattern from the menu and click on it to load. Once done, draw it on the page to fill it up completely. After filling it up, a nice and simple pattern is available for you to use.

 Home
Home