There are wide varieties of the Adobe Illustrator type tool. The type, or in other words, the Illustrator text tool has a total of four options. Here, in this tutorial you will learn how to familiarize yourself with type tool in Adobe Illustrator. This software is one of the best when it comes to designing with text as Illustrator tools provide a range of options to choose from for your text and its design.
Step # 1 – Open the text panel
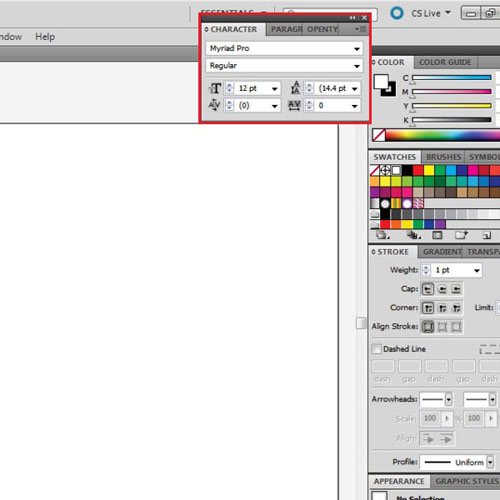
First to open the font and font size options, press “ctrl + T”. You can change the font type and the size of your text from this panel.
Step # 2 – Write in the text box
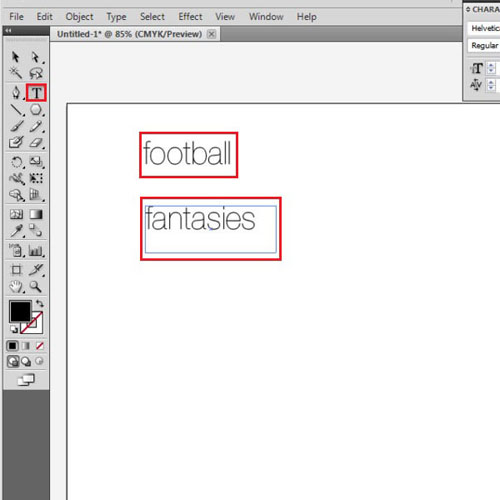
Now, go and select the “type tool” from the tool bar. When you do so, make a text box. This is the place, where Illustrator will allow you to write the text. For right now, choose the font “Helvetica 25 UltraLight”, and keep the size of the text at 48. You can write two separate texts in different boxes, and then arrange them so that they form one logo. To do this, write one word in one text box, deselect it by clicking on somewhere, apart from the text box with the selection tool. Now, make another text box and write something else in it.
Step # 3 – Separate each letter
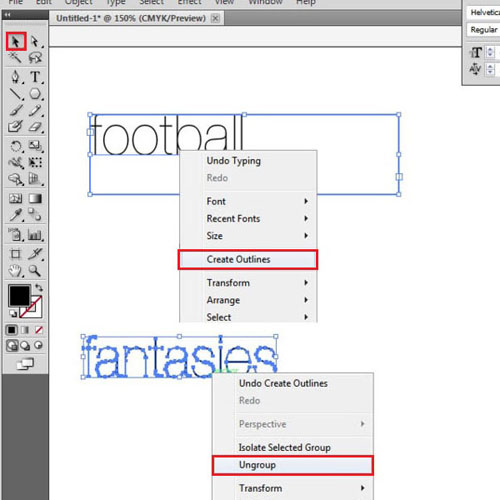
Right now, the text in each box is treated as one. You can separate them and work on them as different images. To do this, right click on the text and in the popup menu click “create outlines”. After doing so right click again and choose “ungroup”. Through this, each letter can be treated and worked on separately. Do the same with the other text.
Step # 4 – Move your letters around
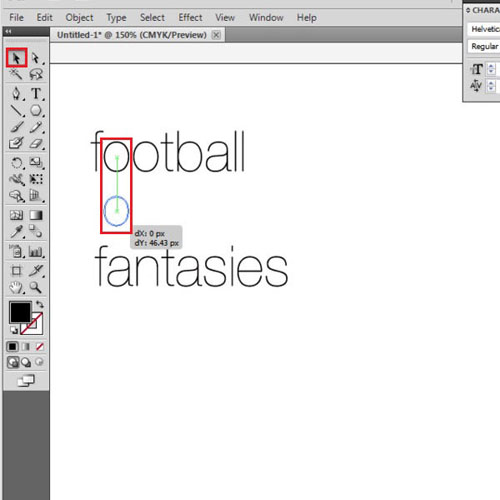
You can now move the letters around wherever you wish. To form one single logo out of them all, move the letters around to set your design. For right now, you can place one word above the other.
Step # 5 – Change the proportions of your letters
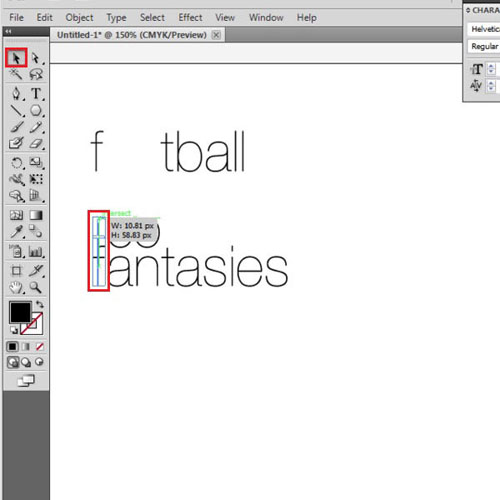
The size and proportion of the letter can also be altered. For example over here, the letters “f” and “t” are present in both words. You can alter their size, so that each of the two letters can be used for both words.
Make sure, that when you design while using Illustrator text, the letters should be properly aligned with each other. Proper and proportionate spacing ensures that your design is more appealing. Therefore, over here as well adjust these letters so as to make sure that your letters fall on the same line.
Step # 6 – Add an image to your text
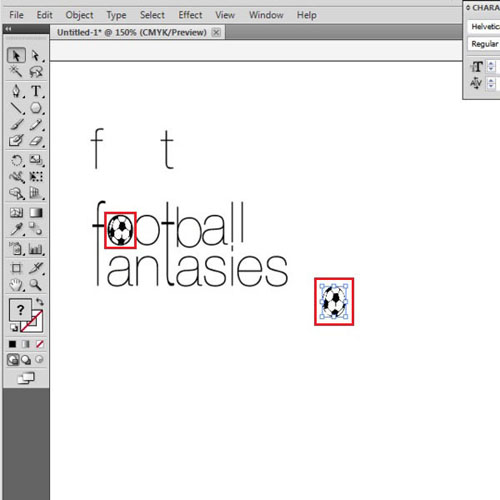
You can even add images to your text. Take any image on a separate sheet, reduce it to the size you want, copy it and then paste it on the current page where you have entered text using the Illustrator type tool. Since this text is about football, you can copy and paste footballs on to it. You can place these balls on top of the “o”‘s.
Step # 7 – Remove the letters
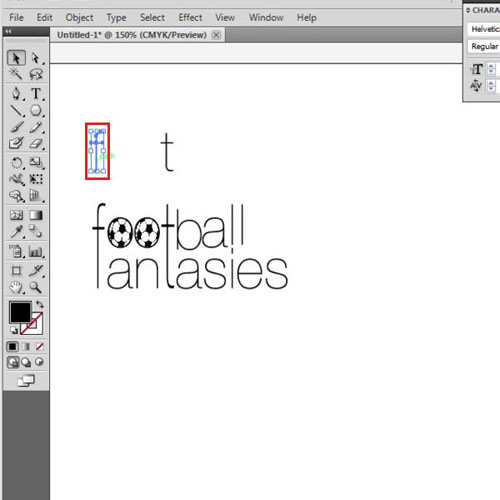
Remove the letters that are not needed by clicking on them and pressing “backspace”.
 Home
Home