In this tutorial you would learn how to disable Mcafee, a diagnostic tool which protects your computer against various anti viruses and malware. This application allows you to set up a firewall, scan your hard drive for unwanted applications and clean up any threats that may be faced by your computer. If you don’t wish to uninstall mcafee and want to disable it temporarily, then follow the step by step mentioned below:
Step 1 – Opening up Services.msc
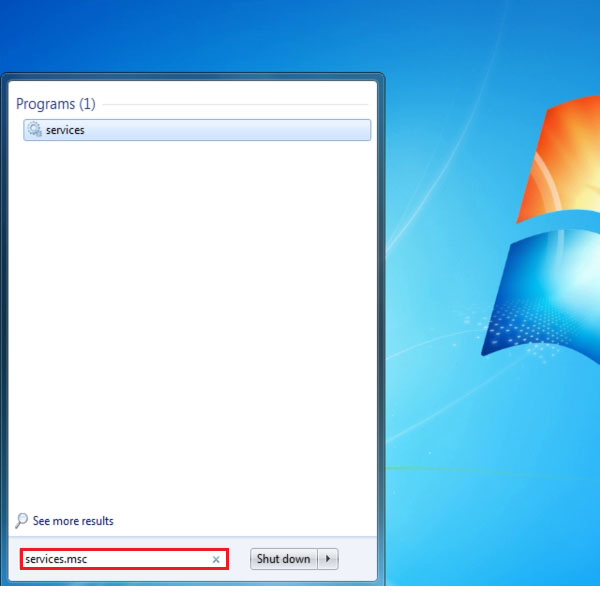
To disable Mcafee firewall, you need to open up the “Start Menu” and in the search box type in “services.msc” and hit enter.
Step 2 – Locating the Application:
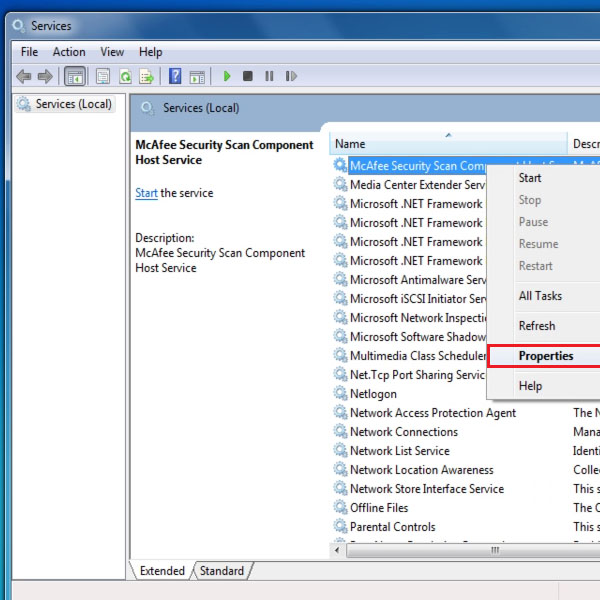
Once the new window opens, look for the Mcafee security service. One you have located the application, right click on it and choose the “Properties” option.
Step 3: Disabling the application:
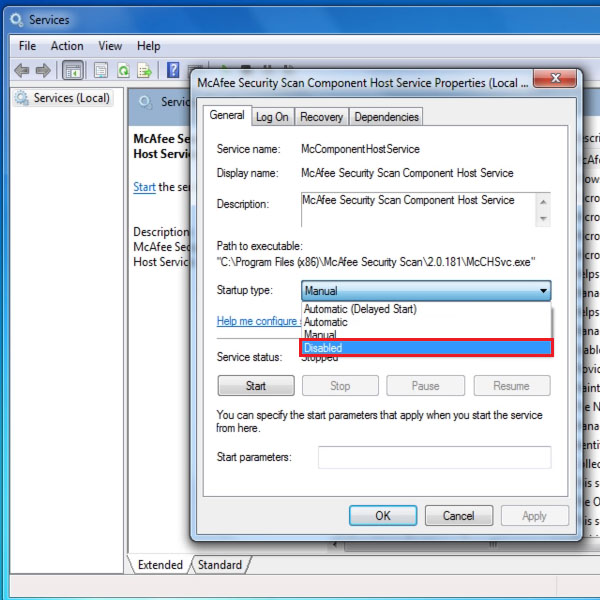
In the properties window, look for the drop down menu next to “Startup Type”. Once located, change the option ti “Disabled” as highlighted in the image below.
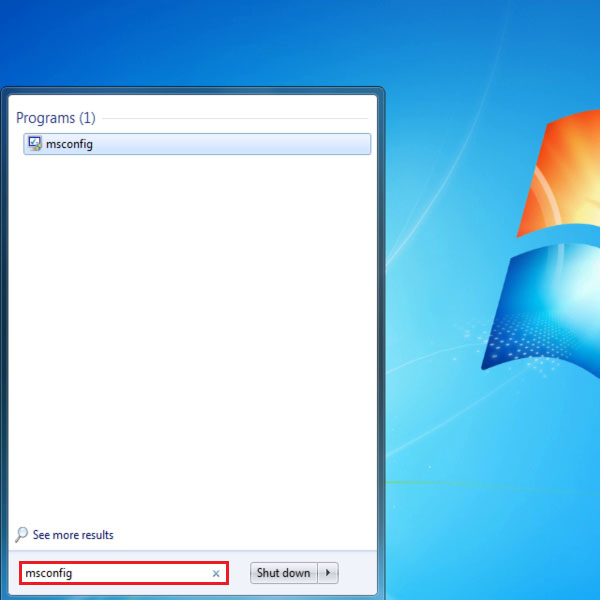
Step 4 – System Configuration:
Once done, close the window and go to the Start Menu once more. In the search box, type in “msconfig” and press enter. This would open up the System Configuration window.
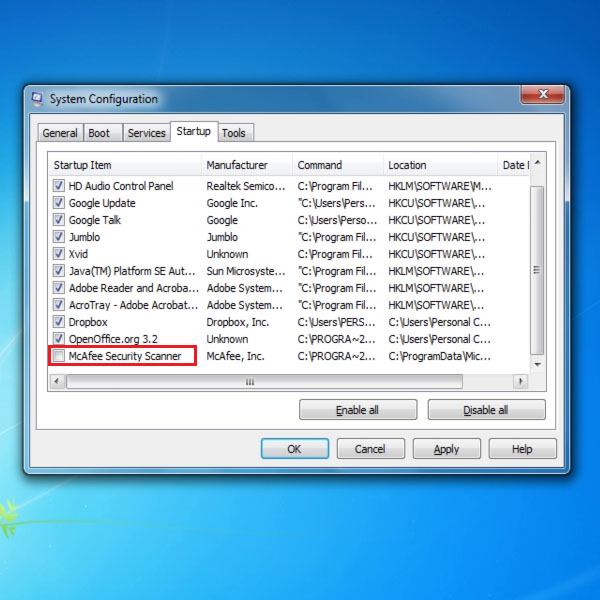
Step 5 – Disabling Mcafee from Startup
Once the new window loads, move on to the “Startup” tab. With that done, locate the Mcafee application. Once located, tick on the checkbox next the application to disable the application. Once done, click on the “Apply” button and close the window. Now you would be required to restart windows and Mcafee would be disabled from your computer.