Tables are used for number of reasons; they present every detail in an orderly fashion and make your data appear more understandable. In MS Word, you can create tables from different styles and ways. Ms Word not only allows you to create tables but also allows you to modify tables.
In this Ms Word tutorial, you will specifically learn how to modify tables in Microsoft Word.
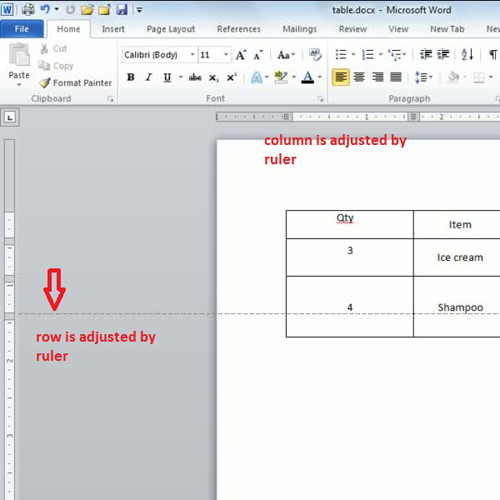
Step # 1 – Adjust the column width and row height
In order to do modifications, a table must be created in the document in which you want to make modifications. Let us say, you want to adjust the column width and row height of a table. Bring the cursor on the ruler above the page to adjust the column width with the help of the ruler markers. Likewise, adjust the row height by dragging the cursor on the ruler markers at the left hand side of the page. Another way of adjusting the column width and row height is by simply dragging the cursor on the lines or margins of the targeted columns and rows.
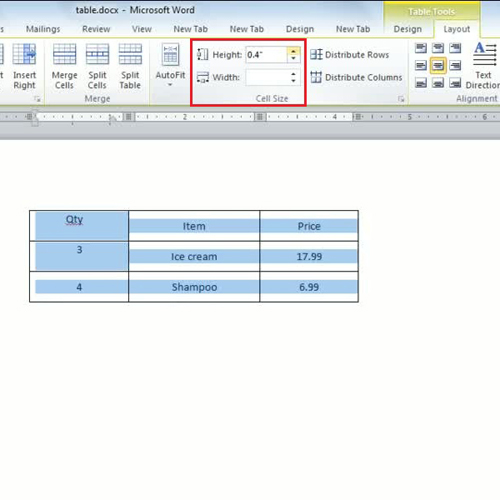
Step # 2 – Cell size options
You can also change the size of a cell in a table. After selecting the content of the table, adjust the cell width and height in the ‘cell size’ group. When working with tables, you’d already be in the “layout” tab where you’d find the “cell size” group.

Step # 3 – Adding a Row
In order to add a new row, one can do it in two different ways. You can do so by simply hitting the “tab” key in the last row and a row will be inserted below. Another way of inserting a new row in between rows is by simply going to the ‘Rows and Columns’ section and clicking on the ‘Insert Below’ button.
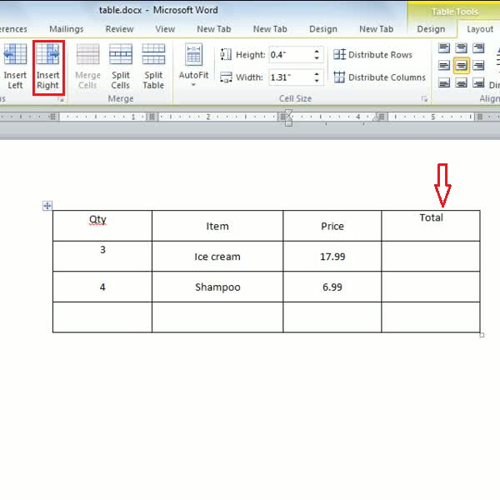
Step # 4 – Inserting a New Column on Right
Let us say, you want to add a new column. Ms Word allows you to insert a new column on the right hand side. In order to do so, bring the cursor to the column after which you want to add the new column and click on the ‘Insert Right’ button. It will insert a new column on the right hand side of the column you have selected.
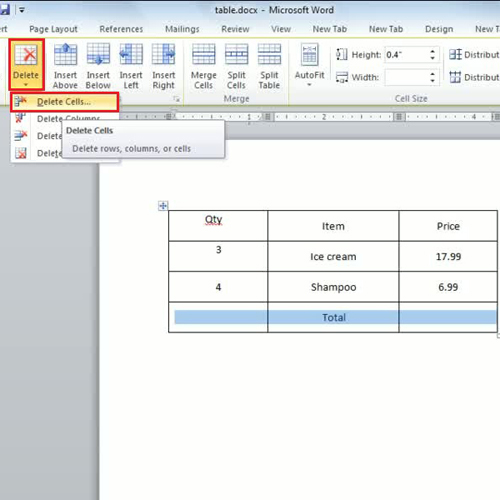
Step # 5 – Deleting Rows, Cells & Columns
In order to delete a row, a cell or a column from the table, the software provides an easy way to do so. You can delete rows, cells and columns by first moving the cursor and selecting the desired column or row of the table. Simply go the ‘Delete’ dropdown menu in the ‘layout’ tab and select the desired option. In this manner, you can easily modify tables in Ms Word.
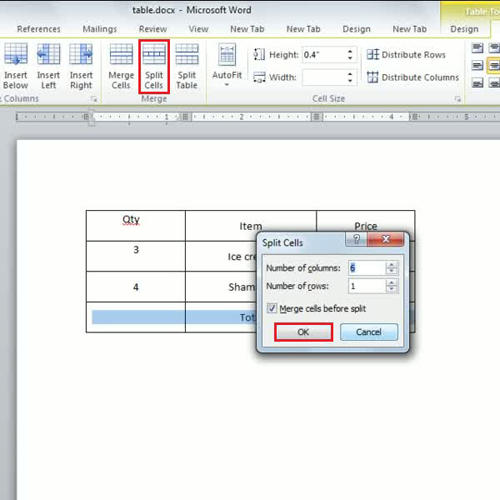
Step # 6 – Splitting Cells
If you want to split one column in to more than one, you can easily do so by splitting the existing cells. First, select the cells by and go to the ‘layout tab’. In the ‘Merge’ section, select the ‘Split Cells’ option. You will see a new window opens where you will be asked about the number of rows and columns that you want to split the selected cells into. Click on the “Ok” button to complete the procedure as shown in this Ms Word tutorial.
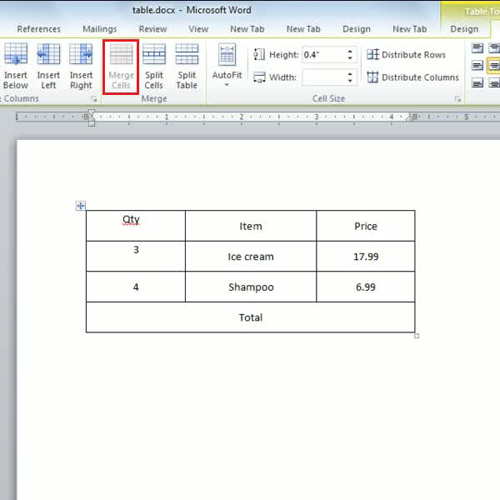
Step # 7 – Merging cells
Cells can also be merged by following simple steps. Let’s say you want to display footer for a table in a last row and want to merge all the three cells into a single cell. You move the cursor to the cells and select them, once they are selected press ‘Merge Cells’ button in the layout panel and all the cell will be merged into a single cell.