Once you have filled movie maker with pictures that you are going to include in your slideshow, it’s time to edit them one by one and make your content dynamic. There are various effects and transitions that can be applied to the timeline, making the final output something to look forward to. Various effects, for example, picture in picture in windows movie maker can be applied very easily to your project.
In this tutorial you will learn how to trim, split and insert image in a video in Windows Live Movie Maker.
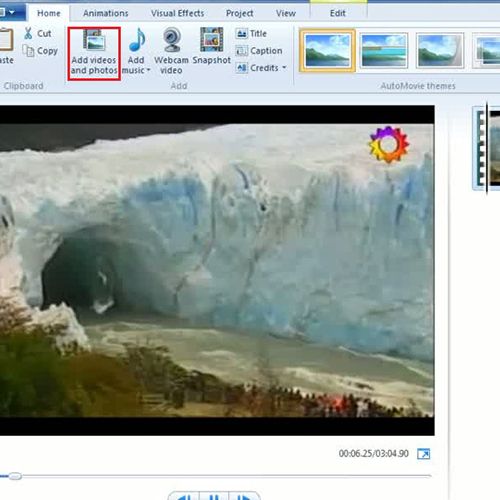
Step # 1 – Play a movie
First of all add a video to the story board area from the ‘Add photos and video’ button and click on play button. In a similar manner you can fill up movie maker with pictures as well if you are thinking of making a slideshow. The movie will start playing. This is the actual movie without any kind of editing.
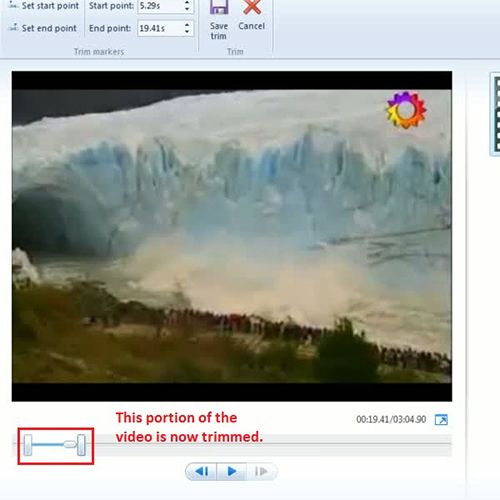
Step # 2 – Trim the video
Now click on video editing tools and you will find a section for ‘Editing’. Click on ‘Trim tool’ button. Select the area that you want to trim from the movie with the help of movie slider bar. After that, click on ‘save trim’ button on the top of the ribbon of the movie maker window, and your movie will be saved with that portion trimmed from the original movie.
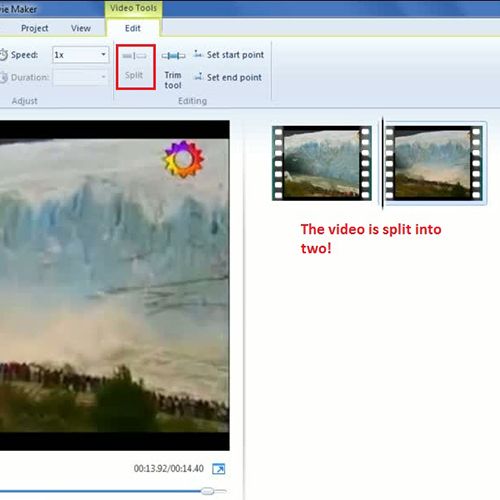
Step # 3 – Split the video
Another tool in the editing section is the ‘Split Tool’. It actually splits the video into two parts. First bring the movie slider bar to the portion in video in the storyboard area from where you want to split and then click on ‘Split’ button in the video editing tools. After you are done, the movie will be split into two portions. You can split the movie into more portions by the same Split tool.
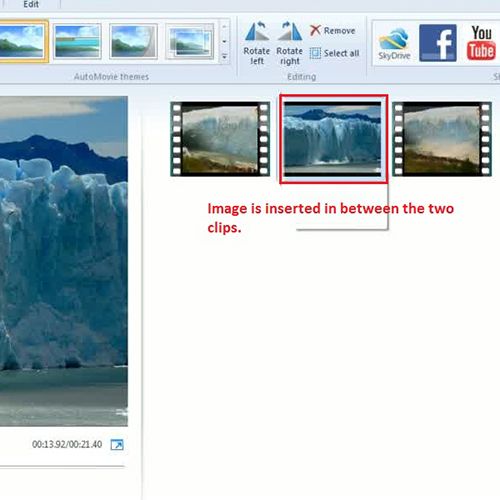
Step # 4 – Insert an image between the video
One advantage of split button is that you can add an image or another video at a point where you have just applied the splitting tool. You can even use the picture in picture effect in windows movie maker to add imagery between clips. Go to home tab and click on ‘Add photos and videos’ button and select an image that you want to insert between the video. Once the image is on the story board you can click and drag it to the point on the video where you want to place it.