A movie is incomplete without mentioning the names of those people who have created it. These details pertaining to the resources involved in creating a movie are known as credits. So, it’s a necessary element to give credit to those who have worked on making a substantially content based video. Credits in movie maker can be easily added at the end of the clip.
In this tutorial we will give you a step by step guide on how to add and modify credits in a project in Windows Live Movie Maker.
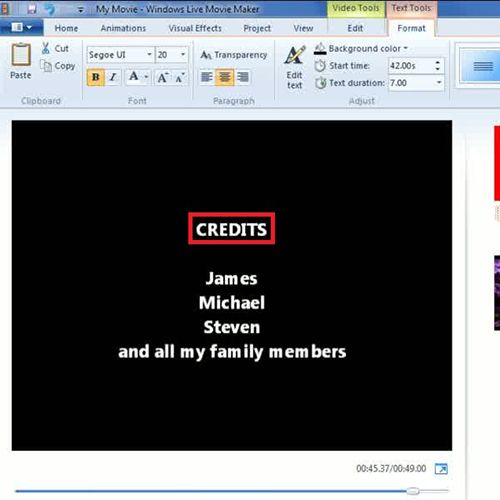
Step # 1 – Adding Credits
Go to the Home tab and click on credit drop down menu. To begin with, you can mention the cast in the credits. The title of the slide is called ‘Credits’. Click it and a new clip is inserted at the end of the project. Type the names of those involved in creating the movie and worthy of appearing in the ending credits. Credit may be given to one or more than one person. After typing you can format the text in several different ways. Once done, you can see the preview the slide by clicking on the play button.
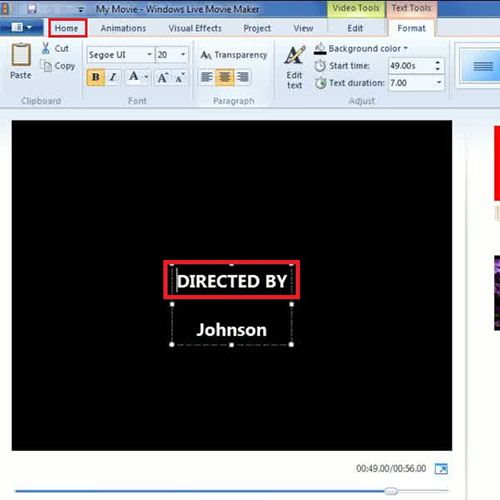
Step # 2 – Adding the Director’s Name
Credits in movie maker have been categorized for your convenience. For example, the second option in the Credits menu is for director. As the name indicates you’ll have to write the name of director if there is one, who has directed the movie. Once again you can apply a separate background color and formatting style with different effects for this clip and can preview it through the play button.
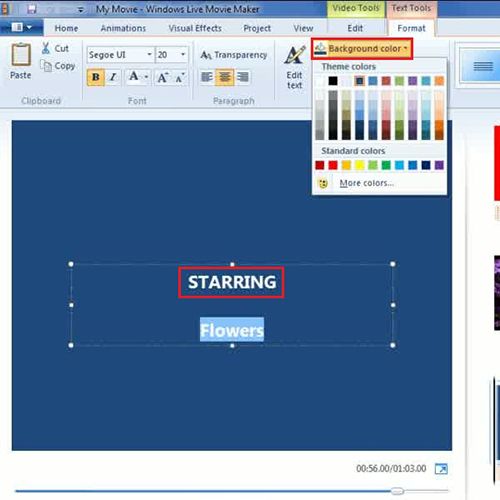
Step # 3 – Insert Cast
The next option is for starring which includes the cast i.e. the people who have acted in the movie. Type the names of the cast and enhance its presentation by applying different layouts.
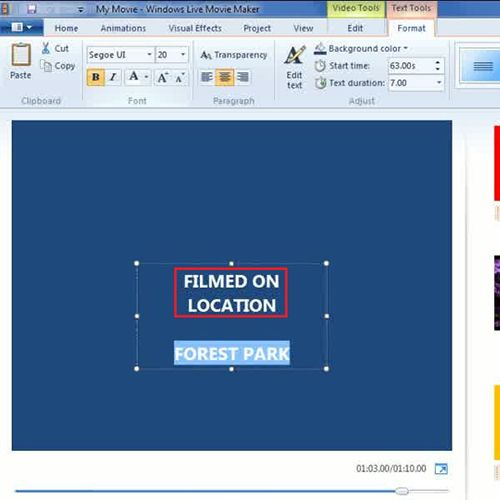
Step # 4 – Add Film location
The last option in the ending credits menu is for ‘Filmed on Location’. You can mention the place where the film was captured. Once again you can embolden the text, change the font style and color for the text.
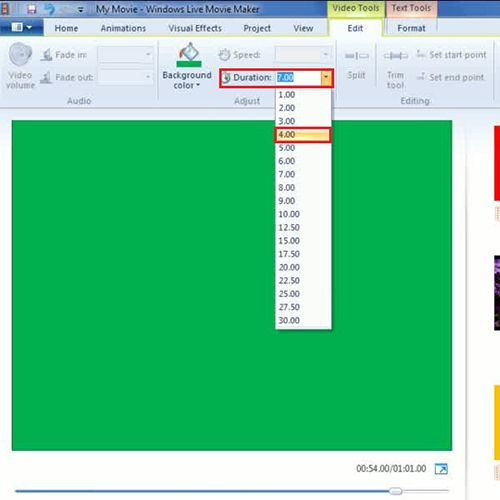
Step # 5 – Assign time duration
One of the most important things in designing the movie is timings. You might want to give more time to the movie and comparatively lesser time for every clip of the credits. So, you can adjust this by going to ‘Duration’ option in video tools. Click on any one clip at a time and then adjust the time duration of that clip for which it will be played. Similarly you can adjust the starting and ending time of a text in a particular clip by ‘Text tools’ option in the Format tab.
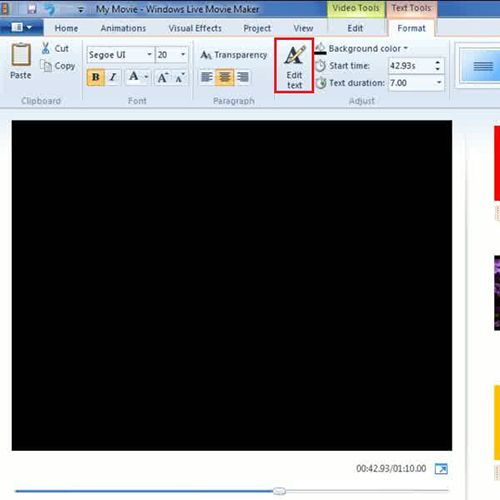
Step # 6 – Edit text
Even though you are done with giving details of the credits, you might need to edit the name of the slide at any time. Go to ‘Edit text’ button in ‘Format’ tab of ‘Text tools’ options.