In this tutorial you will learn how to use panorama on the iPhone. A panoramic photo captures elongated fields of view. It is sometimes know as “wide format photography”. Simply put, you can fit more subjects into your shot.
Step #1 – Tap Camera App Icon
This will take us into live shooting mode.

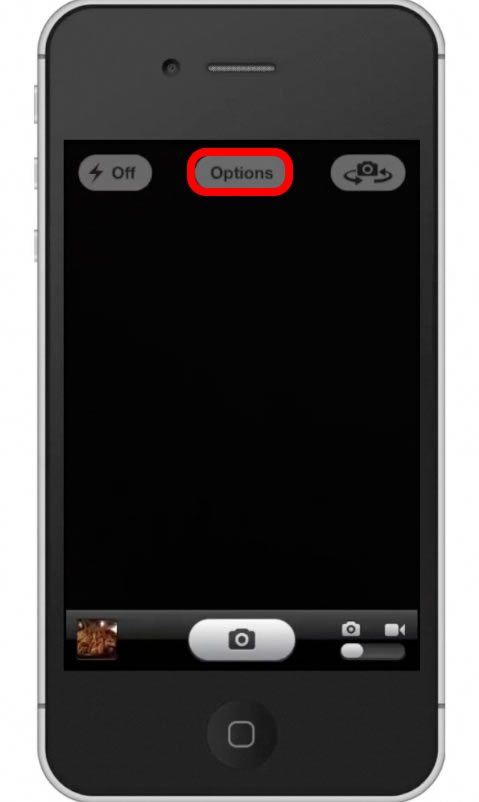
Step #2 – Tap “Options”
This options tab is located in the middle of the top navigation bar. This is where you can adjust the settings of your iPhone’s camera.
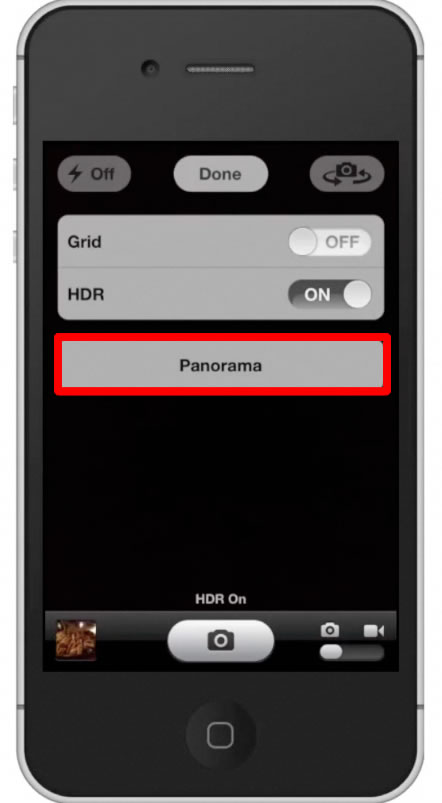
Step #5 – Take Panorama Photo
Tap the “Panorama” tab, located beneath “HDR”. Then press the camera icon button. This will begin the panorama shot.
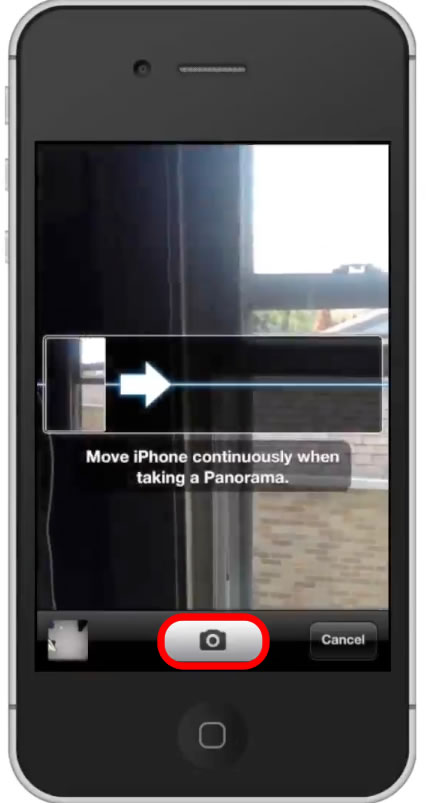
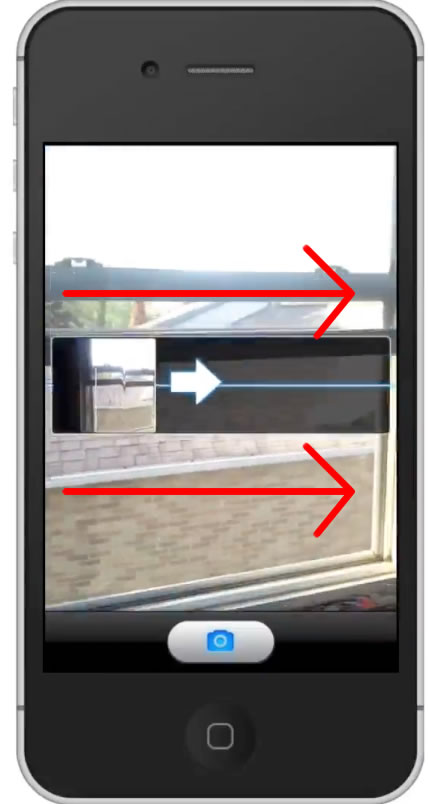
Step #6 – Pan Camera
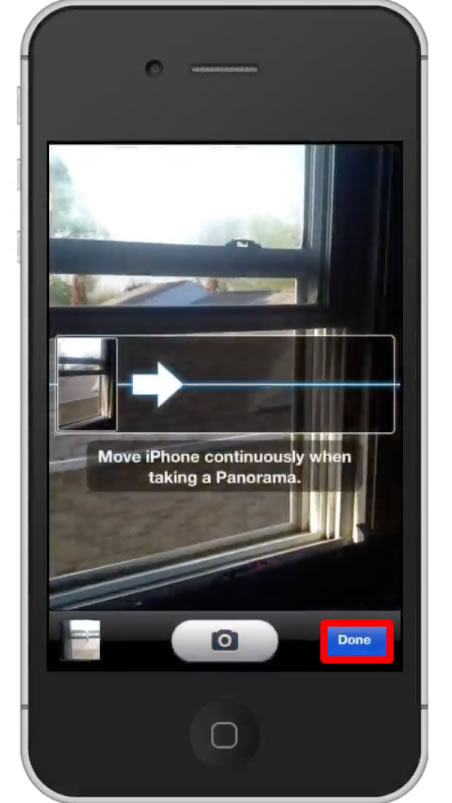
Pan your camera slowly to the right and you will see a white arrow follow accordingly. Make sure you keep the camera panning at a steady horizontal level. If you raise it too high or low you can see the arrow following you. This means that your photo won’t turn out as accurate.
Step #7 – Tap Done
Once you have captured all that you want to, click the blue “done” button.
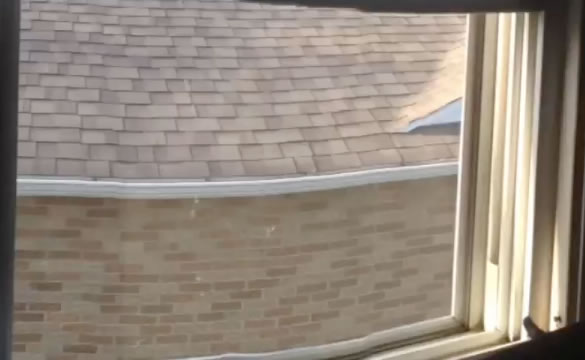
Step #8 – Check out the results
You can see that our photo includes much more content because of the series of photos it took. It stitched together multiple photos into one.
Leave your comments below or contact us by email. This was a Howtech.tv tutorial. Thanks for watching!