There are multiple ways to set in and out points on a clip in Adobe Premiere. The first is within the Program panel itself.

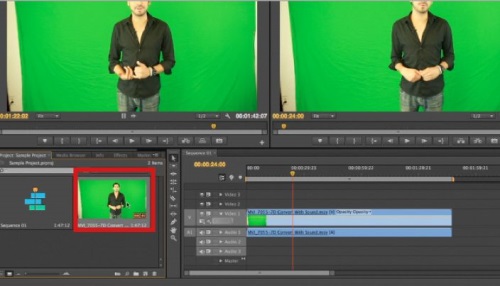
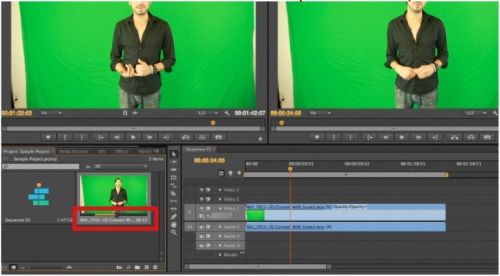
When you move your mouse over a frame in the Program panel, you are able to “hover-scrub”, which allows you to get a quick preview and idea of what the media is that you are working with.
If you “single click” on a clip in the Program window, you are able to move a Mini Playhead to see specific frames of each clip, as well as cut your clips INSIDE this window using the letters I and O on your keyboard to set the range that you would like to use from this clip.

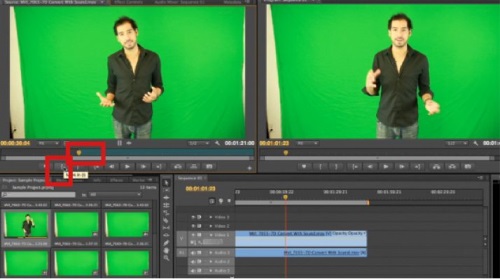
A more traditional method for setting in and out points in your footage is to double click on a clip. This will load that clip into the “Source” Panel on the left. Move the playhead underneath clip to find exactly where you would like to start this piece of footage.
Once you’ve found your first frame for that clip, click on the “left bracket” in the button editor to set an “in” point, and do the same for the last frame with the “right bracket button” to create your “out point”. For efficiency, also keep in mind that the letters “i” and “o” on your keyboard also work to set your in and out points in the Source Panel.

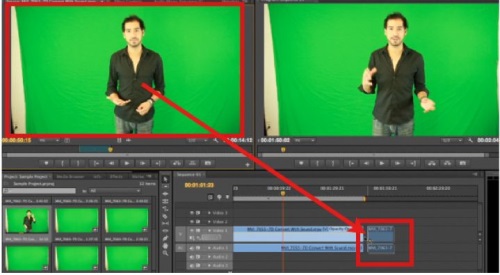
Once you’ve found the proper and in and out points for that specific clip, simply drag and drop your clip into its respected place within the timeline on the bottom right to continue piecing together your production.

 Home
Home