With Microsoft Project 2013, you can easily prioritize project portfolio investments.
Project portfolio management can be easily managed by Project. Project 2013 new features include SharePoint integration. You can easily share documents, follow people and sites.
Project 2013 overview also includes how you can download applications directly from the web.
Step # 1-Open the template
When you open Project 2013, you go directly to the dashboard. Through this dashboard, you can access not only all local templates but search for online templates as well using the search bar.
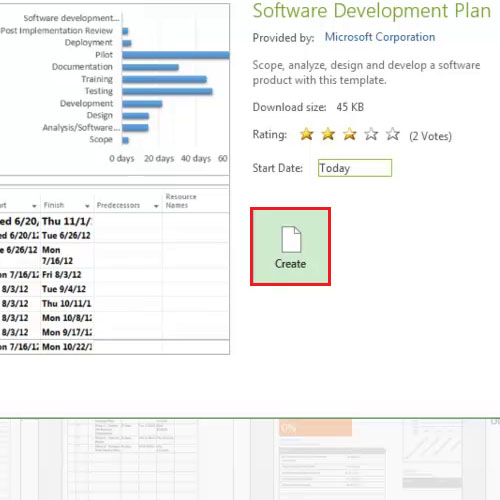
In this tutorial, we have selected the “software development plan” template. Once you have clicked on it, a small box will open and it will start downloading. Once downloaded, open it.
Step # 2 – Manage your account
Next, go to the “file” tab which is also known as the backstage view.
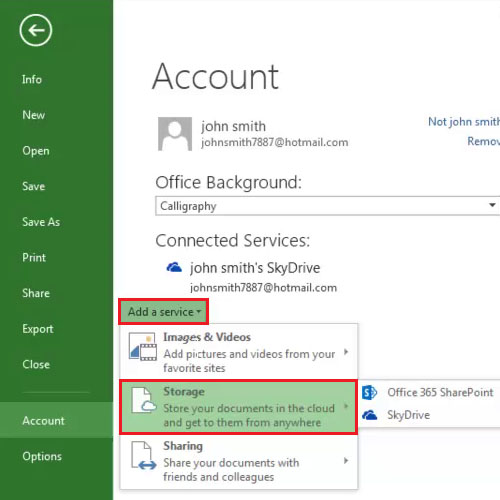
Go to the “account” tab and sign in using your Hotmail account. Once you have signed in, you can add services by clicking on the “add a service” button. When the drop down menu appears, three options will be displayed to you; add images and videos, store your documents through office 365 SharePoint or sky drive and share your documents with people on social websites such as Facebook, LinkedIn and twitter.
Step # 3 –Filters out categories
Project 2013 new features also include the timeline view which helps you visualize your project to deliver presentations to your team.
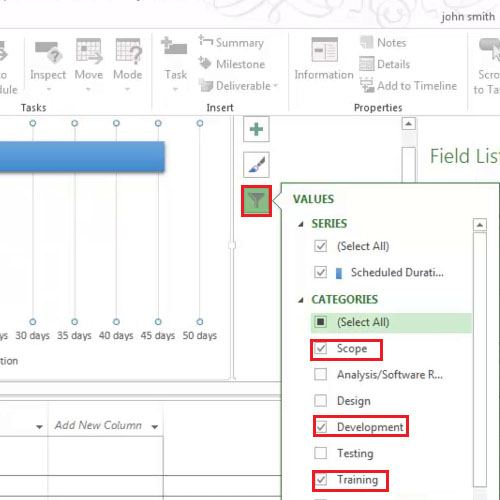
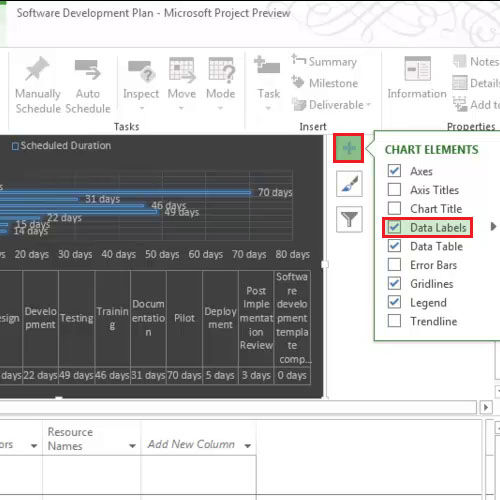
The chart above when clicked, displays three buttons. The bottom button is used to filter out things which you do not want in the chart. You can easily add or remove categories from there.
Step # 4 – Select chart elements
The middle button allows you to choose various designs while the top most button deals with the chart elements. In chart elements, you can add data labels and data tables to give you a clearer graphical representation of the data.
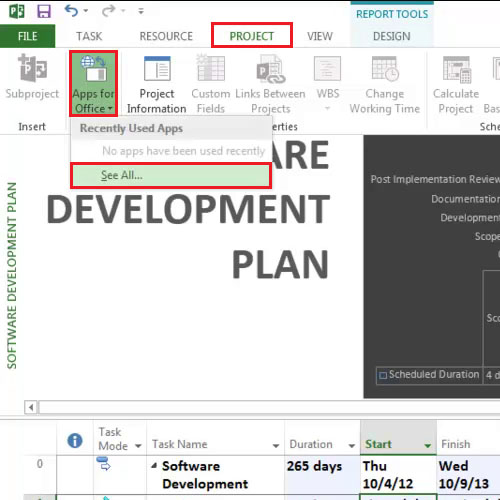
Step # 5: Click on Apps for office button
Go to the “project” tab and click on the “apps for office” button. A small box will open and through that box, you will be able to search for different apps which are available for office project.
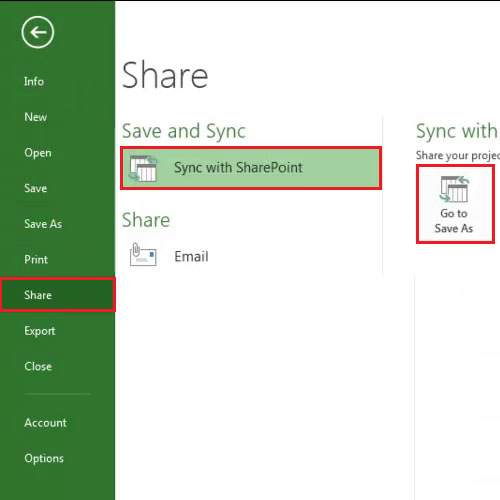
Step # 6: Save document on SkyDrive
To share your project, go to the “backstage” view and click on the “share” tab. You can either Save and sync via SharePoint or share it through Email. In this tutorial, we have saved it on our SkyDrive. Click on the “go to save as” button and then choose the “browse” icon. Once the new box appears, click on the “save” button and your document will be saved on your SkyDrive.
So this was the project 2013 overview. Hope you found it useful.