In this tutorial you will learn how to use kindle for iPhone. The kindle app for iPhone is great for reading books on the go. It allows you to customize the size of text, make bookmarks when you’re finished with reading, and gives you access to free reading material.
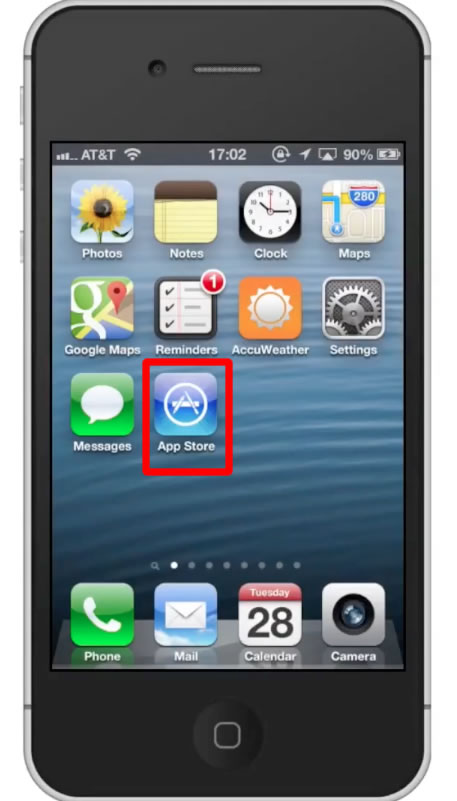
Step #1 – Tap App Store Icon
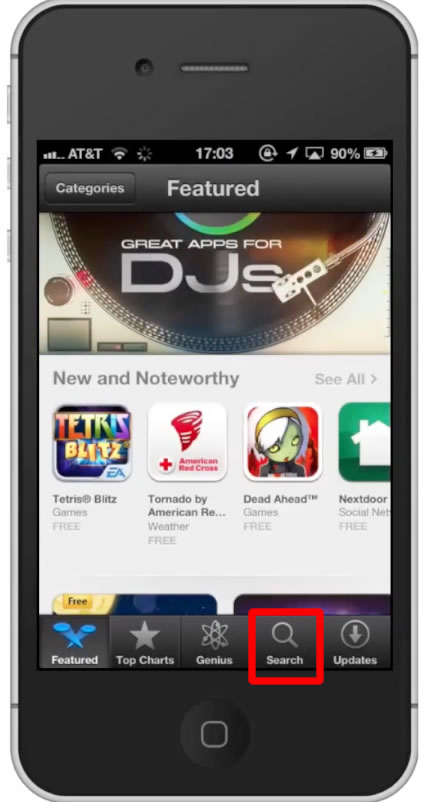
Step #2 – Tap the “Search” Tab
By default, you will be sent to the featured tab. Tap the search tab to start looking for our app.
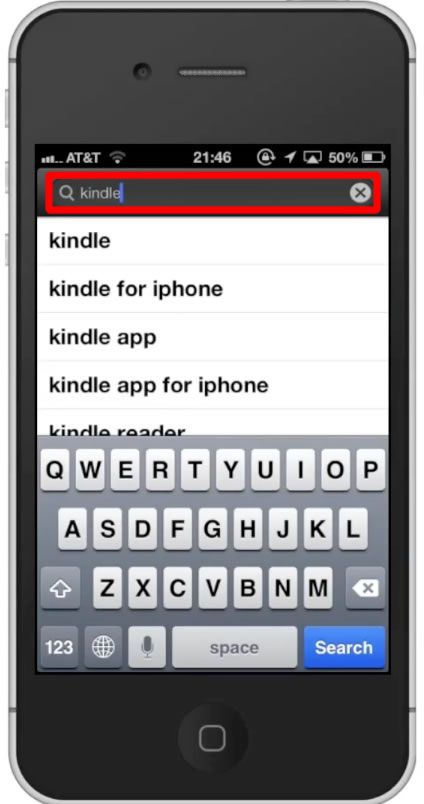
Step #3 – Type “Kindle”
Assisted search results will help you find what you’re looking for. Hit search!
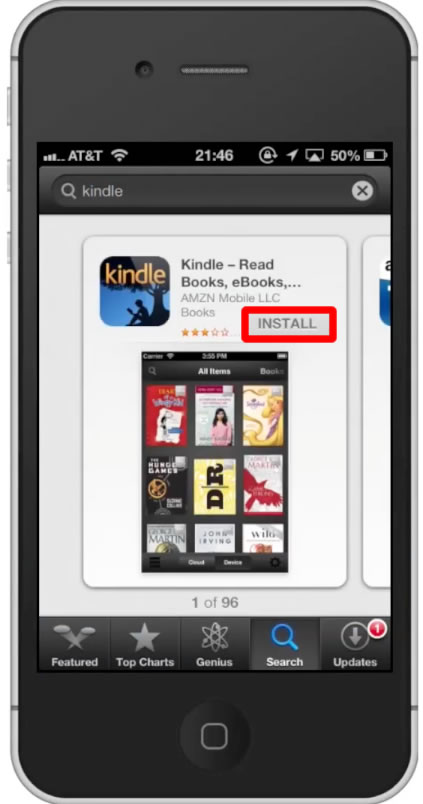
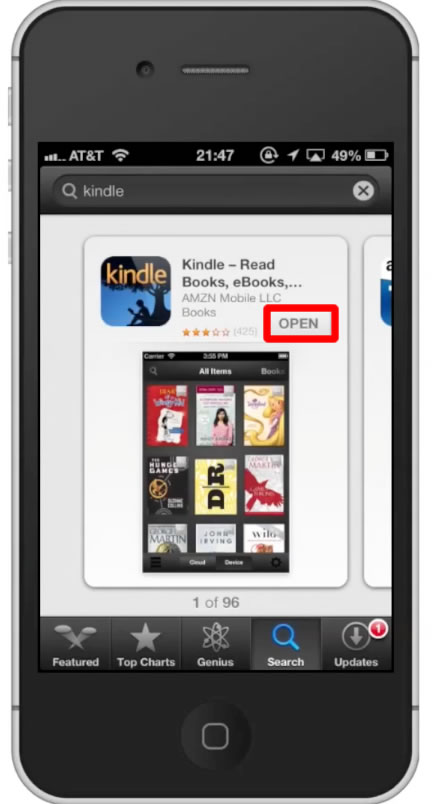
Step #4 – Tap Install
The Kindle App will be the first option shown. Hit install and the app will automatically begin downloading.
Step #5 – Open Kindle App
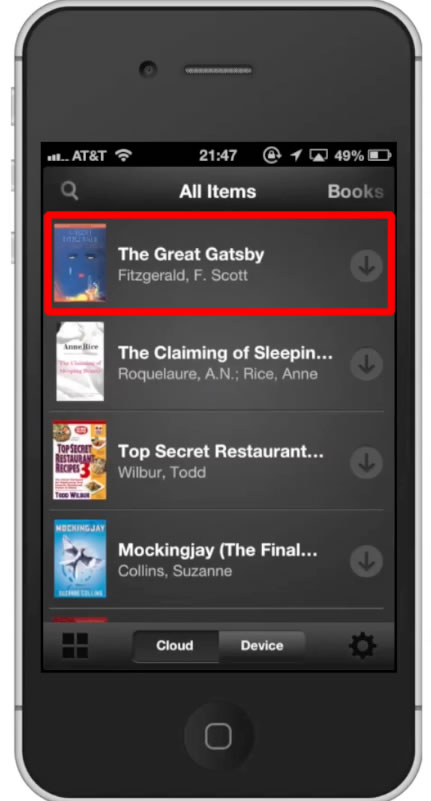
Step #6 – Tap Thumbnail
Tap the thumbnail of the book you want to read.
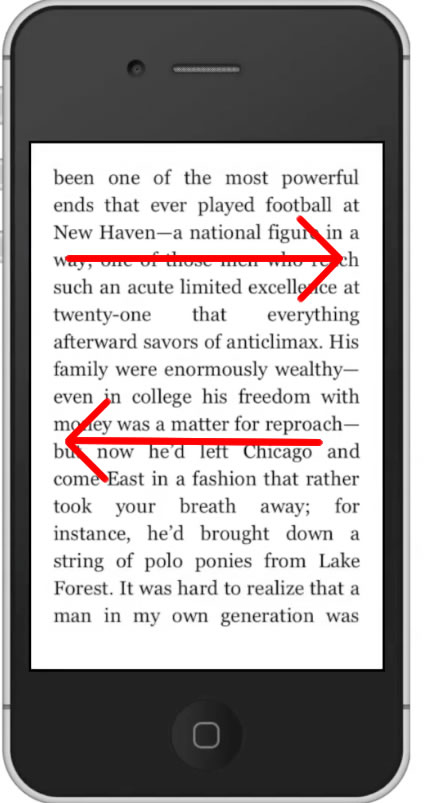
Step #7 – Swipe Page
You can get to different pages of the book, by swiping either left or right.
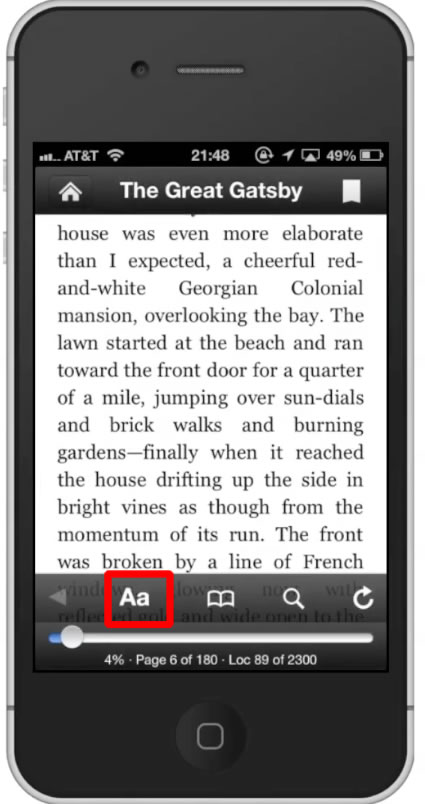
Step #8 – Change Preferences
Tap the “Aa” icon on the bottom navigation bar. This will bring up options to change the font, background color, and the brightness. These are all great settings you can customize to what ever fits your eyes best.
Step #9 – Tap Font
Tap the font name, and then tap the name of the new font you want to use.

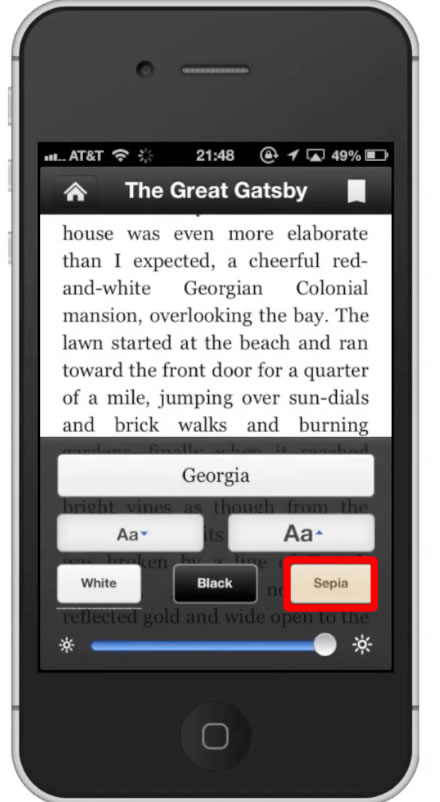
Step #10 – Change Background Color
You can change the background color by tapping the white, black, and sepia icons. Choose which one is right for you.
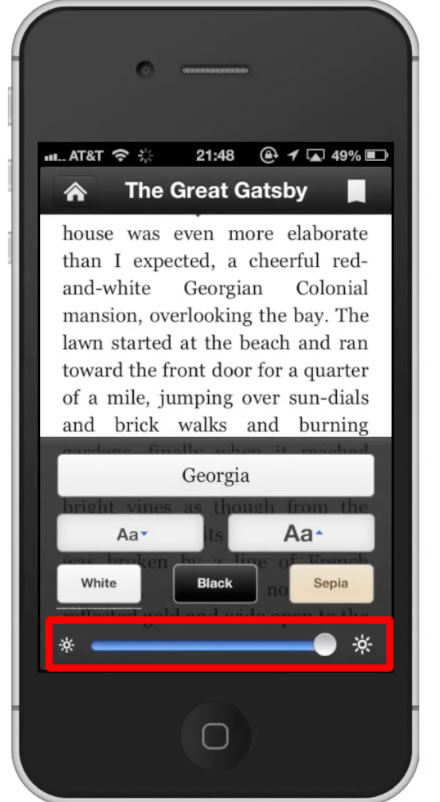
Step #11 – Adjust Brightness
Use the horizontal fader to adjust how bright you want your screen to be. This feature is especially helpful if you read in the dark and want to turn down the brightness of the screen.
Step #12 – Bookmark a Page
To bookmark the page you stop reading at, tap the bookmark icon at the top right of the screen. You have now successfully used Kindle for the iPhone.

Leave your comments below or contact us by email. This was a Howtech.tv tutorial. Thanks for watching!